The Complete Guide to Recording Developer Tutorials on macOS
Practical tips for developers who want to record coding tutorials that people actually watch - from terminal setup to editing workflow.
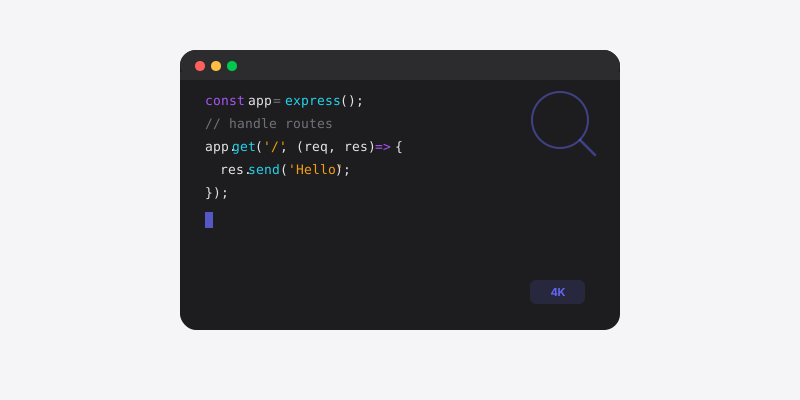
Most developer tutorials on YouTube are unwatchable. Tiny text, rambling explanations, a cursor darting across the screen while the narrator says "so basically what we're gonna do here is, um..." for nine minutes before writing a single line of code.
You've probably watched dozens of these. You've probably closed most of them within 30 seconds.
And yet - the good ones? They're absurdly valuable. A well-made 15-minute tutorial can build more trust with your audience than a month of tweets. It can drive signups, establish you as someone who actually knows what they're talking about, and honestly, it's a skill that compounds. The more you record, the better you get.
So here's what I've learned about making coding tutorials on macOS that people don't click away from.
Your terminal is too small. Fix that first.
Before you hit record, bump your terminal font size to at least 18px. I know it feels comically large on your screen. It won't look that way in the final video - especially if someone's watching on a laptop or phone.
I run my recordings at 20px in my terminal. Some people go higher. The point is: if a viewer has to squint at your code, they're gone. They won't pause and zoom in. They'll just leave.
Same goes for your editor. If you're recording VS Code or any other editor, increase the font size there too. Cmd + = a few times. Your muscle memory will scream that it looks wrong. Ignore it. You're not coding for yourself right now - you're coding for someone watching a compressed video stream on a 13-inch screen.
While you're at it, hide anything you don't need visible. Close the sidebar in VS Code. Hide the minimap. Turn off notification badges. Every pixel of screen real estate should be serving the tutorial.
Why 4K actually matters for code
"Do I really need to record in 4K?" Yes. Absolutely.
Text rendering is the one place where resolution makes an obvious, immediate difference. Photos and general screen recordings can get away with 1080p. Code can't. Characters blur, syntax highlighting loses its contrast, and that 18px font you bumped up suddenly looks mushy.
4K at 60fps gives you crisp text even after YouTube or whatever platform recompresses your video. And on a Retina Mac, you're already working at a high-DPI resolution - you just need a recording tool that actually captures it properly. Screen Bolt records native 4K at 60fps, which means what you see on your screen is what ends up in the export. No downscaling surprises.
If you're posting to YouTube, upload at 4K even if you think most viewers watch at 1080p. YouTube allocates a higher bitrate to 4K uploads, which means even the 1080p version of your video looks better than a native 1080p upload. It's a well-known trick and it works.
Stop trying to record perfect 45-minute takes
Here's the single biggest mistake I see developers make when they start recording tutorials: they try to do it in one shot.
Don't.
Record in chunks. 3-5 minute segments. Explain one concept, record it, stop. Move on to the next chunk. This does a few things for you:
- You make fewer mistakes because you're focused on one small thing
- When you do mess up, you only re-record 3 minutes instead of restarting from scratch
- Your pacing stays tighter because each segment has a clear start and end
- Editing becomes trivial - you're mostly just stitching segments together
I've talked to a lot of developers who tried recording tutorials, made one attempt at a 30-minute unbroken take, hated the result, and never tried again. Chunking solves this. You'll sound more confident, more concise, and you'll actually finish your videos.
Use a teleprompter (seriously)
"But I want it to sound natural!" Sure. And it will - if you write natural-sounding notes and read them while recording. The alternative is rambling. And you will ramble. Everyone does.
You don't need a full word-for-word script. Bullet points work fine. Something like:
- "In this section, we're setting up the database connection"
- "Show the .env file, explain each variable"
- "Run the migration, show the output"
- "Common error: forgetting to set DATABASE_URL"
Screen Bolt has a built-in teleprompter that sits right on your screen while you record. You can glance at your notes without switching windows or taping index cards to your monitor. It keeps you on track without making you sound like you're reading a script - because you're not. You're reading reminders.
The difference between a tutorial with a loose outline and one without is night and day. With notes, you hit your points, you don't repeat yourself, and you finish in half the time.
Auto-zoom changes everything for code walkthroughs
Here's a problem specific to coding tutorials: you're working on a file, but the viewer needs to see a specific function. Or you're typing in the terminal, but there's a lot of other stuff on screen.
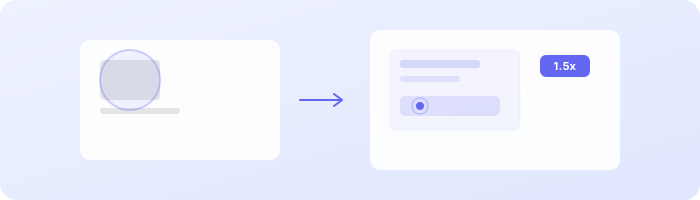
Normally you'd either zoom in manually (awkward, breaks flow) or just hope the viewer can figure out where to look (they can't). Auto-zoom in Screen Bolt follows your cursor and smoothly zooms into the area you're working in. So when you click into a function definition, the viewer sees that function fill their screen. When you move to the terminal, it zooms there.
This is a massive quality-of-life improvement for tutorial viewers. Instead of scanning a full-screen IDE trying to figure out which line changed, they see exactly what you're working on. It mimics what a good cameraman would do if they were filming over your shoulder - they'd zoom into whatever your hands are doing.
Combined with smooth cursor tracking, your recordings look polished without you doing any extra work in post-production. The recording itself just... looks professional.
Webcam overlay: use it sparingly
A small webcam bubble in the corner helps viewers connect with you. People learn better from people, not disembodied voices. But keep it small. You're teaching code, not hosting a talk show.
Screen Bolt lets you add a webcam overlay and position it wherever you want. I keep mine in the bottom-right corner, small enough that it doesn't cover any code but large enough that viewers can see my face when I'm explaining something.
One trick: if you're recording in chunks, you can drop the webcam overlay for segments where the entire screen matters - like when you're showing a full terminal output or a wide file. Then bring it back for the intro and explanations. Flexibility matters.
The actual recording workflow
Here's my typical process for a 10-15 minute tutorial:
- Outline first. Write 8-12 bullet points covering what you'll show. Load these into Screen Bolt's teleprompter.
- Set up your screen. Bump font sizes, hide distractions, pick a clean wallpaper (Screen Bolt has custom wallpapers - a solid dark background works well behind terminal windows).
- Record in chunks. One chunk per major section of your outline. Pause between takes.
- Don't over-edit. Cut the dead air, stitch your chunks, and export. A small mistake or "let me redo that" is fine - it makes you human. Over-polished tutorials feel corporate.
- Export at 4K/60fps. Always. Even if the video is just terminal output.
The whole process - including setup - takes maybe 60-90 minutes for a 15-minute tutorial once you've done it a few times. Your first one will take longer. That's fine.
Just start
The developer tutorial space is wide open. Most existing content is mediocre. If you can explain things clearly, show your screen without making people squint, and keep it under 20 minutes, you're already ahead of 90% of what's out there.
Your first tutorial will be rough. Your fifth will be decent. Your twentieth will be genuinely good. The tools matter - recording in 4K with auto-zoom and a teleprompter gives you a real head start on production quality - but the biggest thing is just shipping that first video.
Pick something you explained to a coworker last week. Record that. Post it. Then do it again.
Ready to make better screen recordings? Download Screen Bolt for Mac and see the difference in your first recording.